
I’m very lucky to have a huge dining table to play D&D around. But I also have 7 players so that table is filled up quickly! Between all the paper sheets, books, dice and spell cards, it can be tricky to clear some space for a battle map!
My solution was to build a table riser, which allows my players to store things underneath while leaving a dedicated space on top for the maps etc.
It was a super easy project so I thought I’d share it with you incase it’s of interest! It didn’t cost a whole lot either because I already had the fabric left over from my other gaming tables.
HOW TO
For the short legs I used a square banister spindle cut down into five 10cm lengths and added felt sticky pads to the bottom. I have so many of these pads as they are included with Kallax shelves but as mine are on carpet, I didn’t need them!

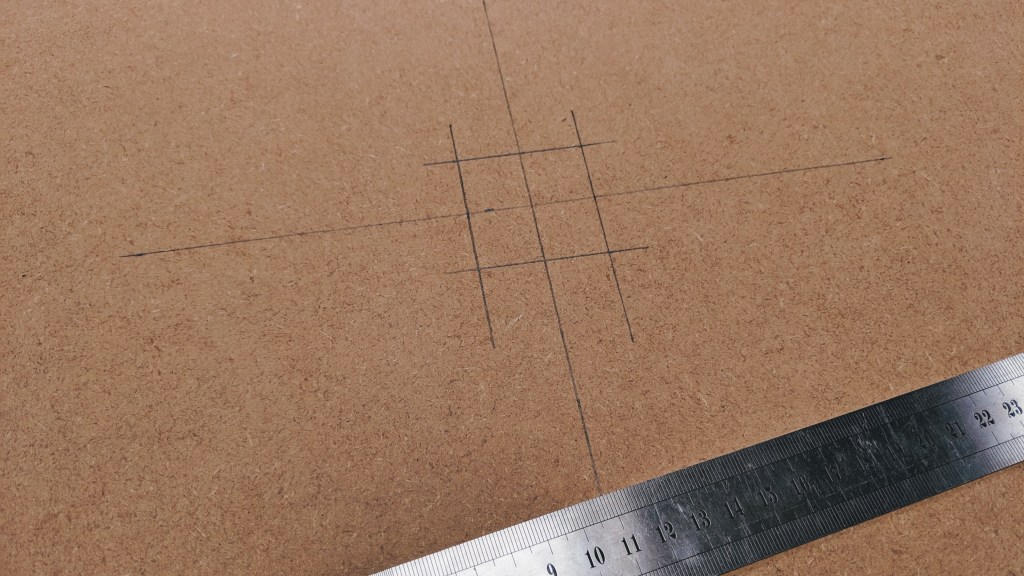
For the tabletop I used a 12mm sheet of MDF measuring 1220mm x 607mm. This is pretty big, but I have a large table so it’s a good size and can fit lots of maps on it, but you could definitely use a smaller sheet of MDF and still benefit from a riser!

I marked squares where I wanted the legs to sit, 10cm in from the corners and one supporting leg in the middle of the sheet as the tabletop is quite long, I wanted to make sure it doesn’t bow.
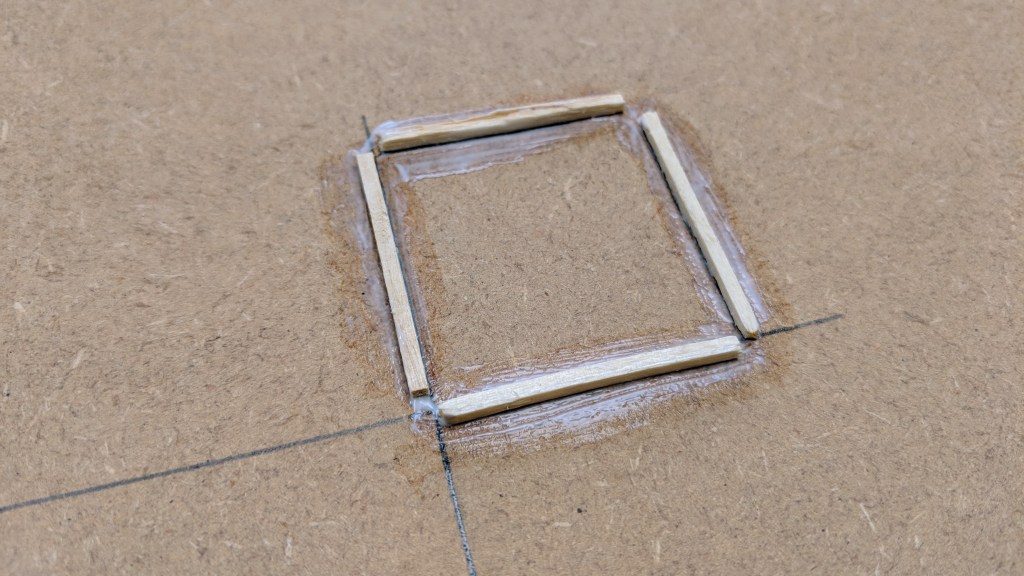
Because I wanted the legs to be removable for storage, I decided to make little ‘sockets’ for the legs to sit in. To do this I simply glued wooden matchsticks on to the MDF using PVA wood glue. If you don’t need the legs to be removable then I would recommend screwing them on from the top of the MDF sheet so you can then cover the screws with the fabric afterwards.
While covering the tabletop is not strictly necessary it does help to create a non-slip surface which is good if you have a lot of small dungeon tiles which easily move around! If you’d rather forgo the fabric, you could simply paint the MDF tabletop or cover it in a self adhesive vinyl.
I already had some left over fabrics from when I upholstered my gaming tables, so I decided it would be nice to use the same stuff for the table riser too.
I used a basic black felt first for added cushioning and then covered this is a grey microsuede. If you wanted to keep costs down then you’d be fine to stop at the felt layer although I do find that the microsuede is a bit better for non-slip.
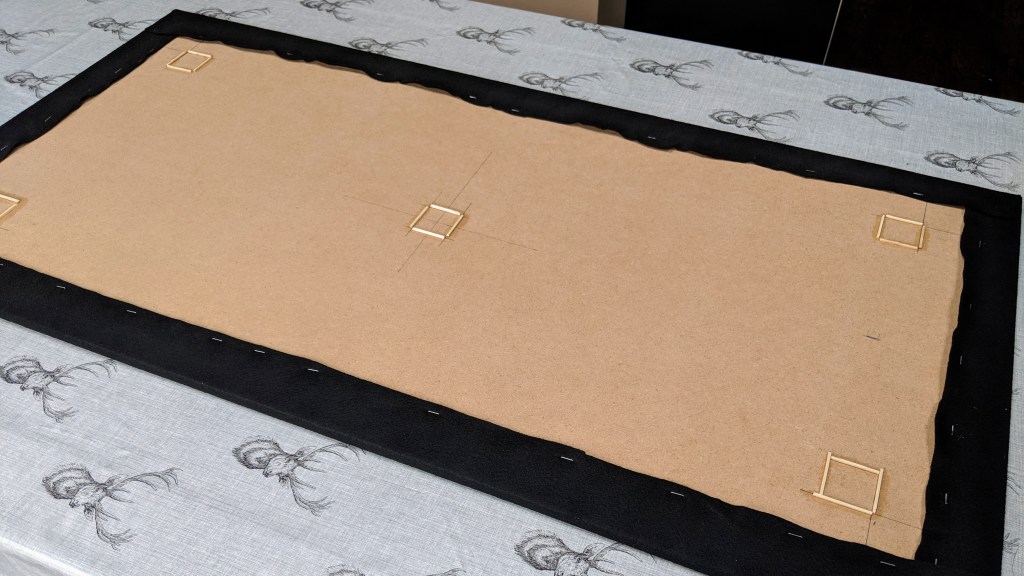
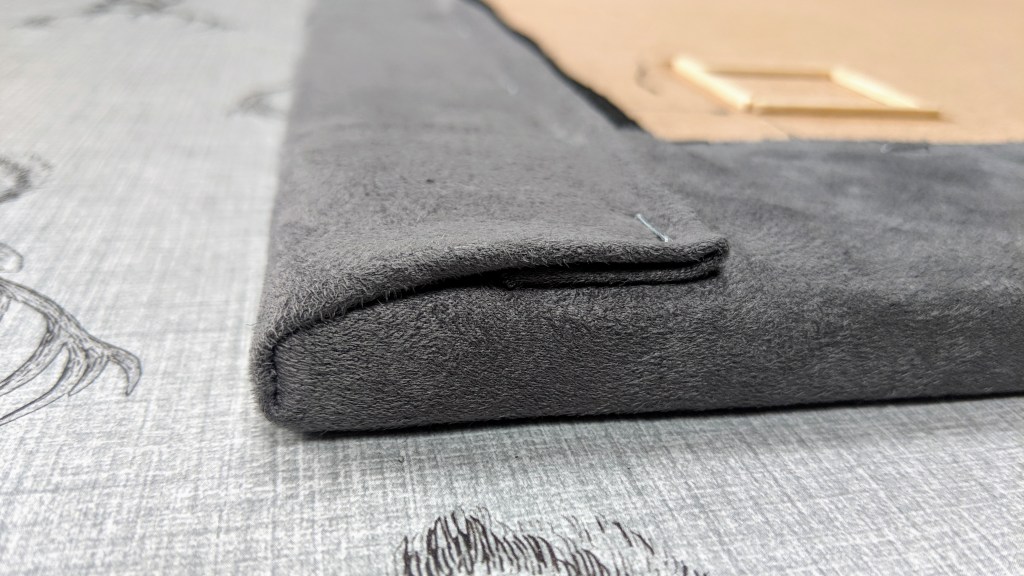
I just used a staple gun with 8mm staples to attach the fabric on the underside of the table, making sure to pull the fabric as tight as possible.

Make sure the corners are as neat as possible. You don’t want any fraying edges your players can pull at!
The Result
And that’s it! Place the tabletop on top of the legs, lining them up in their sockets and you have a non-slip display area for your glorious battle maps!

Players can store books and less used items underneath out of the way and still have room for their character sheets.
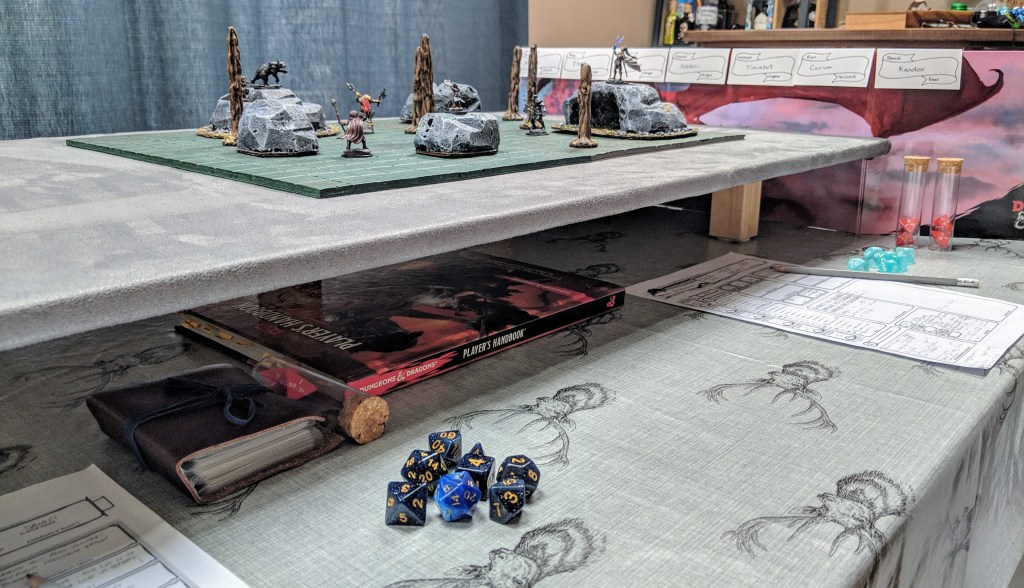
From the DM’s perspective it also helps me to be able to see the maps over the top of my screen.

My dining table is also a vaulted game table so I can easily take the legs off the tabletop and store it inside the vault or tuck away behind the door in my office.
All in all, I’m really pleased with how it turned out and can’t wait for my next D&D session!
You can also find me on Instagram, Facebook and Twitter for the latest updates!

Reblogged this on DDOCentral.
LikeLike
Thaanks for sharing this
LikeLike